Where to Start Packaging
#
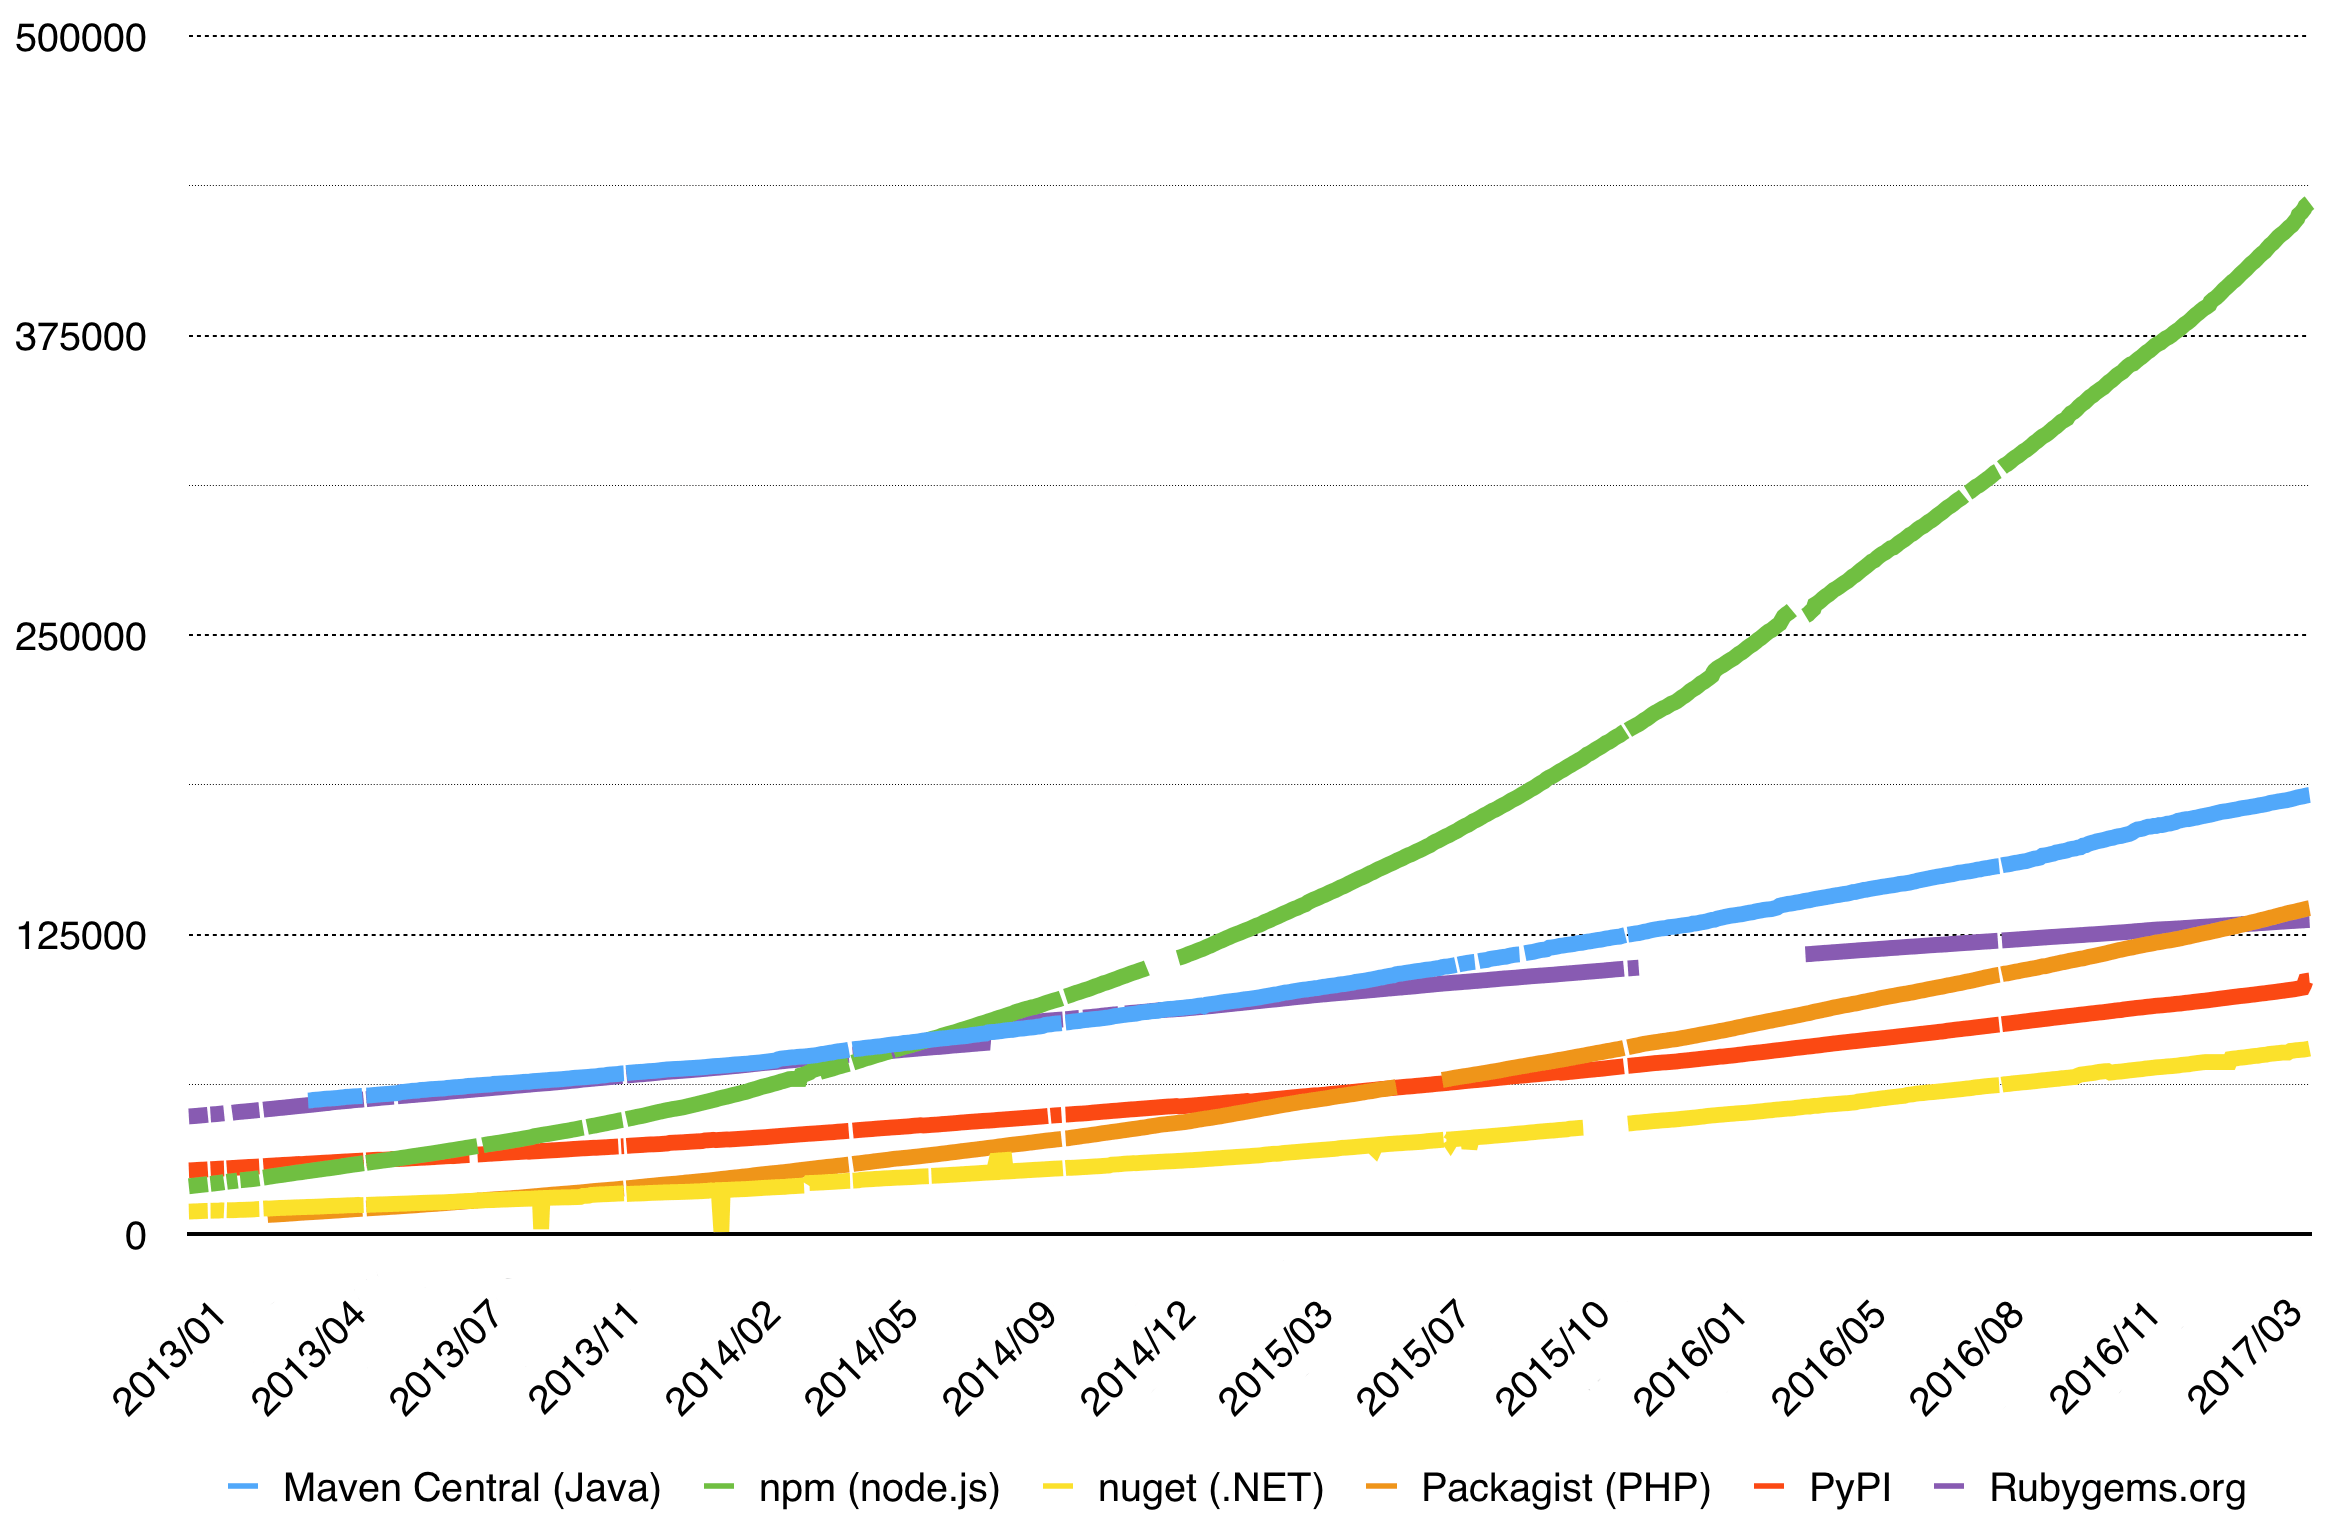
npm has become wildly popular for managing JavaScript packages. It started in the backend world but has since grown to include frontend libraries as well. And now we have another issue: it’s hard to find a package your need because there are so many, and you end up creating a new one increasing the number of packages even more. Better search engines, like npms↗, help a lot, but the problem still exists.
To develop your own package or not is a hard decision you have to make, with pros and cons on both sides.
To Consume Packages or to Develop Them
#
The point of a package manager like npm is to avoid unnecessary development effort. Instead of developing every piece of code yourself, you consume readymade functionality using npm. This isn’t without its problems as you have to research and test your options.
npm ecosystem is vast and it hosts multiple smaller communities, such as AngularJS, Ember, or React. Certain utility libraries, like Lodash, are valuable across these boundaries. npm offers a lot of choice and it’s not uncommon to have tens of options available to address your specific problem.
When you are confronted with a technical problem, you have at least the following options:
- Use an existing package.
- Enhance an existing package.
- Take over an existing package.
- Fork an existing package.
- Develop your own package.
Use an Existing Package
#
If you get lucky, there may be a package that addresses your problem exactly. Then the problem is more about finding it and verifying the package quality. To do this, you may want to walk through the project code, check out its issue tracker, and see if the project is in a vital state.
There are several pros and cons to this approach:
Pros:
- You can avoid potentially a lot of work.
Cons:
- Existing library may be hard to adapt if your needs are uncommon.
- You have to keep up with the package updates to gain improvements and fixes.
- You may have to fix bugs yourself or wait while maintainers will fix them.
Enhance an Existing Package
#
Often you’ll find something that almost fits. Improving an existing project is usually simpler than developing your own from scratch. If the project is in a healthy state, there’s a good chance that the work gets merged.
If it’s a bug or a small feature, you can send a pull request right away, otherwise you should discuss the feature with the project maintainers. Normally this is done by opening an issue at the project issue tracker, explaining the use case, and the desired outcome. This may lead to further insights and avoid redundant effort as you spend time on design.
The pros and cons are similar as before but there are a few more:
Pros:
- The community benefits from your enhancements.
Cons:
- You have to contribute the enhancements you need and take care to get them merged to the package.
- You may still have to fix issues in your feature yourself by sending more pull requests.
Take Over an Existing Package
#
Sometimes the project you want to contribute could have been abandoned by its authors or they are too busy to maintain it actively.
If you see value in the project and want to take over the maintenance, get in touch with the authors and ask them to give you rights to the repository and an npm package.
Sometimes they would like to continue to work under some conditions: contracting is one option.
This time pros and cons are more involved as you become more active.
Pros:
- You have control over the direction of the project.
- The code stays maintained as long as you are willing to do it.
Cons:
- You gain new responsibilities: a package may come with a user community that will report bugs and request new features.
Fork an Existing Package
#
You can also fork the project. This can be done in a few ways:
- Maintain a private fork that’s used only by your projects. In npm terms this could be achieved using scoping and you could end up with
@org/some-packagethat contains the modified version. The maintenance cost is lower than when taking over a package because you’ll be the only user of your package. - Rename the project while retaining references to the original project to follow common licensing clauses (esp. MIT) and then publish it publicly under a new name. Users of the original project may become yours eventually if it’s no longer maintained or if your fork has more features.
Original licensing can become problematic. This applies to so called copyleft (or viral) licenses, like GPL and stricter AGPL, which put restrictions on the usage. If you fork a project like this, note that the license still applies!
Over time the original project might become active again and you could look into merging the efforts. This has happened in the past with bigger projects like Node and io.js or ayo. A fork can revitalize a stagnant project and force it to pick up pace again.
This time around you gain control but also split effort.
Pros:
- You have control over your fork and may take it to a direction you want.
- You avoid politics related to project control.
Cons:
- Potential duplication of work.
- Potential confusion in the user community.
Develop Your Own Package
#
If there’s nothing that fits your purposes you may want to develop on your own package. Sometimes people end up developing their own packages because they aren’t aware of the existing options. Discoverability is a real problem given the amount of packages available.
One of early stage problems is figuring out a good name for a package. npm root namespace has become crowded and it can be difficult to find a free name. Also, you may have to worry about existing trademarks to avoid problems later on. By skipping this you may have to rename your package later as happened for Jade which had to rename as Pug↗.
Scoped packages↗ could solve the naming issue. A scoped package name looks like @scope/name and allows you to group a series of packages behind a namespace. Scoping allows you to manage people that have access to these packages easily. Scopes are freely available for open source projects.
DefinitelyTyped↗ and webpack-blocks↗ are examples of projects using scoped packages.
The pros and cons are roughly opposite compared to using an existing package:
Pros:
- You get exactly what you are capable of developing.
- You control package releases and can publish fixes and features as you prefer.
Cons:
- You may repeat someone else’s work.
- Development cost is much higher than in other options.
- You may have to deal with maintenance and possible community support if the package becomes popular.
Consumption Workflow
#
Most of the time you’ll use these commands:
npm install <package> --saveornpm i <package> -S.npm install <package> --save-devornpm i <package> -D
<package>@<version> will install a specific version.
Pointing to a package by its name and version is not the only way:
<git repository>#<reference>points to a Git repository and a Git reference.<github user>/<project>#<reference>shortcut points to GitHub in a similar way.<github user>/<project>#pull/<id>/headpoints to a specific GitHub pull request.
<reference> can be either a commit hash, a tag, or a branch.
The Package Authoring Techniques chapter shows how to set up your package to support consumption beyond Git.
Using Private Packages
#
To avoid sharing all your packages in public, npm allows you to maintain private packages through their commercial offering. Another option is to use a tool like verdaccio↗ which allows you to maintain a private server that can also work as a cache for npm. You can also override public packages using it.
Understanding npm Lookup
#
npm’s lookup algorithm is another aspect that’s good to understand. Sometimes this can explain certain errors, and it also leads to good practices, such as preferring local dependencies over global ones. The basic algorithm goes as below:
- If there is node_modules directory, crawl through that.
- Check parent directories until the project root is reached. You can check that using
npm root. - If the lookup fails, it fails hard. You should get an error now.
On a package level, npm resolves to a file as below:
- Look up package.json of the package.
- Get the contents of the
mainfield. If it doesn’t exist, default to/index.js. - Resolve to the
mainfile.
The general lookup algorithm respects an environment variable NODE_PATH. If you are using Unix, you can patch it through NODE_PATH=./demo:$NODE_PATH. The call can be included at the beginning of a package.json scripts to tweak NODE_PATH temporarily.
webpack) points to the version of the project. It doesn’t work unless the global package exists. Also note that webpack in npm script will call a local package if it exists and fallbacks to a global one otherwise.
NODE_PATH.
Conclusion
#
Before writing your own package, investigate existing packages: you may find that a new package is not required and you can contribute to a thriving one or even use it as is. Even forking an existing package can be a good option that may save you a lot of work.
You’ll learn how npm packages are structured in the next chapter.